
TellMe - A Simple Web Application with Django
Servus! I created an anonymous Question-Answer platform where people can ask a question or submit their own answers or advices using Django. Although I am fan of Flask for creating HTTP services that renders templates, for more complex and larger web applications Django provides Model-View-Controller framework and data models. I will share my steps to create a simple web application with Django. You can find the completed project on my GitHub profile.
| Home View | Detail View |
|---|---|
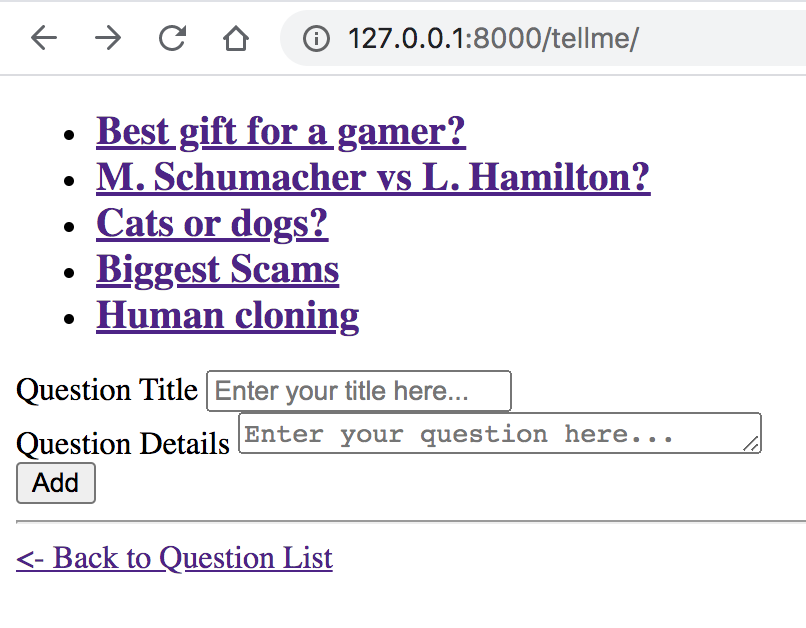 |
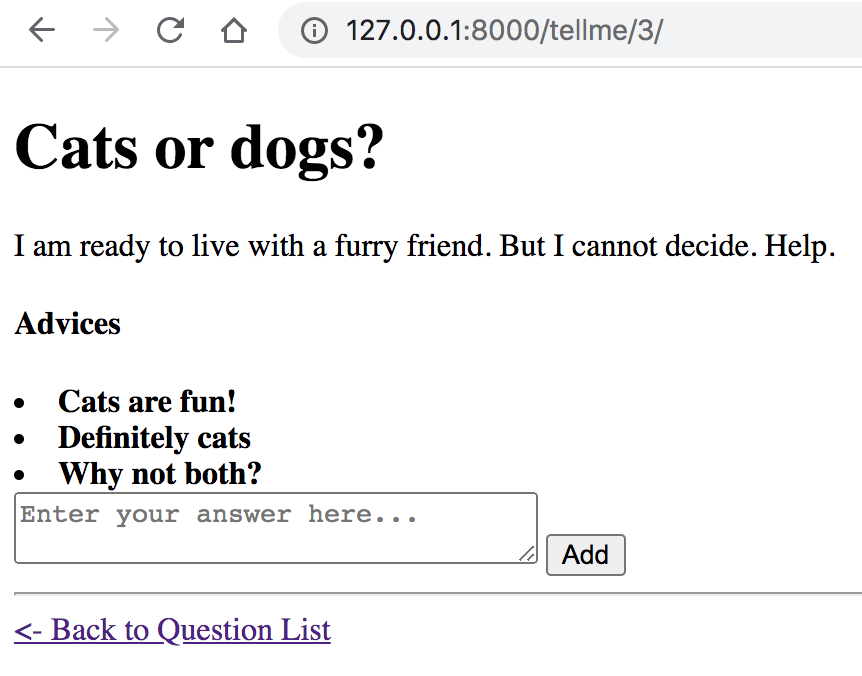 |
1. Create a Django project and an application
- Create a root folder for the project, e.g. called
tellmemkdir tellme - Create a file called
requirements.txtwhich keeps the Python dependency list in the root directory. Add Django to the file.cd tellme touch requirements.txt echo "Django==3.0.8" >> requirements.txt - Create a virtual environment
  python3 -m venv env
  source env/bin/activate
  pip install -r requirements.txt
Now that the virtual environment is activated, I can refer to
Python 3by onlypythonfrom now on. - Create the initial structure of a Django project
django-admin startproject webapp cd webbapp python manage.py startapp tellme - Start the application
python manage.py runserverThere are couple of things going on here when you first run this command. Firstly, this created
db.sqlite3file which is the local database for the project. Also, we see this message below in the output:
You have 17 unapplied migration(s). Your project may not work properly until you apply the migrations for app(s): admin, auth, contenttypes, sessions. Run 'python manage.py migrate' to apply them.
For now, this is normal. Now check your application at http://127.0.0.1:8000/tellme/ which serves a default page.
2. Create models and populate the database
Now we can take care of the message before.
-
Go to
models.pyand create two modelsQuestionandAnswer.class Question(models.Model): q_title = models.CharField(max_length=100) q_text = models.CharField(max_length=300) q_date = models.DateTimeField('Date published') class Answer(models.Model): a_text = models.CharField(max_length=300) a_date = models.DateTimeField('Date published') a_votes = models.IntegerField(default=0) question = models.ForeignKey(Question, on_delete=models.CASCADE) - Now stop the app if you haven’t (
CTRL + C) and “make migrations” which creates new migrations based on the changes you made to your models.python manage.py makemigrations tellmeIt says
No installed app with label 'tellme'. This is because you have to add the app in INSTALLED_APPS - Go to
webapp/settings.pyand addtellmein INSTALLED_APPS and run the command above again. - Run the “migrate” command which creates
tellme/migrationsfolder.python manage.py migrate - Now we can populate the database. Open the Django shell.
python manage.py shell - Add a question
  import django
  from tellme.models import Question, Answer
  from django.utils import timezone
  django.setup()
  q= Question(q_title = "Best gift for a gamer?",q_text="I am looking for cool gift ideas for my fiance who likes video games.", q_date=timezone.now())
  q.save()
  Question.objects.all()
This should print <QuerySet [<Question: Question object (1)>]>. You can add a __str__ method to the models which will help you print more details. Just remember to quit the Django shell (exit()) and start again after you make changes to the models.
- While still inside the Django shell, create answers for our question.
  q=Question.objects.get(pk=1)
  q.choice_set.create(a_text = "You can buy a full desk mousepad",a_date=timezone.now(), a_votes=0)
  q.save()
  exit()
3. Admin Tool
- In order to acces admin tool, we need to set up login.
python manage.py createsuperuserIt ask for your login information. Enter your username, email address and password.
- Now start the app again (
python manage.py runserver). Go to http://127.0.0.1:8000/admin. It shows Users and Groups. But we want to see Questions and Answers.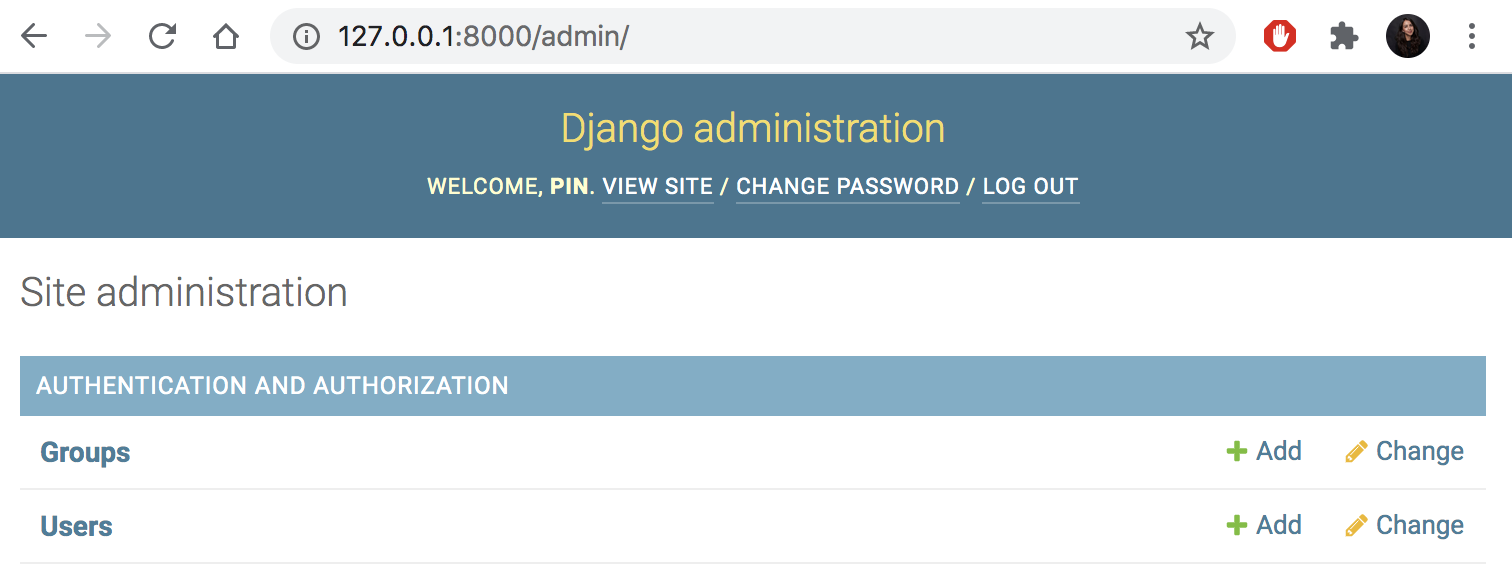
-
Go to
admin.pyand registerQuestionandAnswermodels.from django.contrib import admin from .models import Question, Answer admin.site.register(Question) admin.site.register(Answer) -
Now check http://127.0.0.1:8000/admin again.
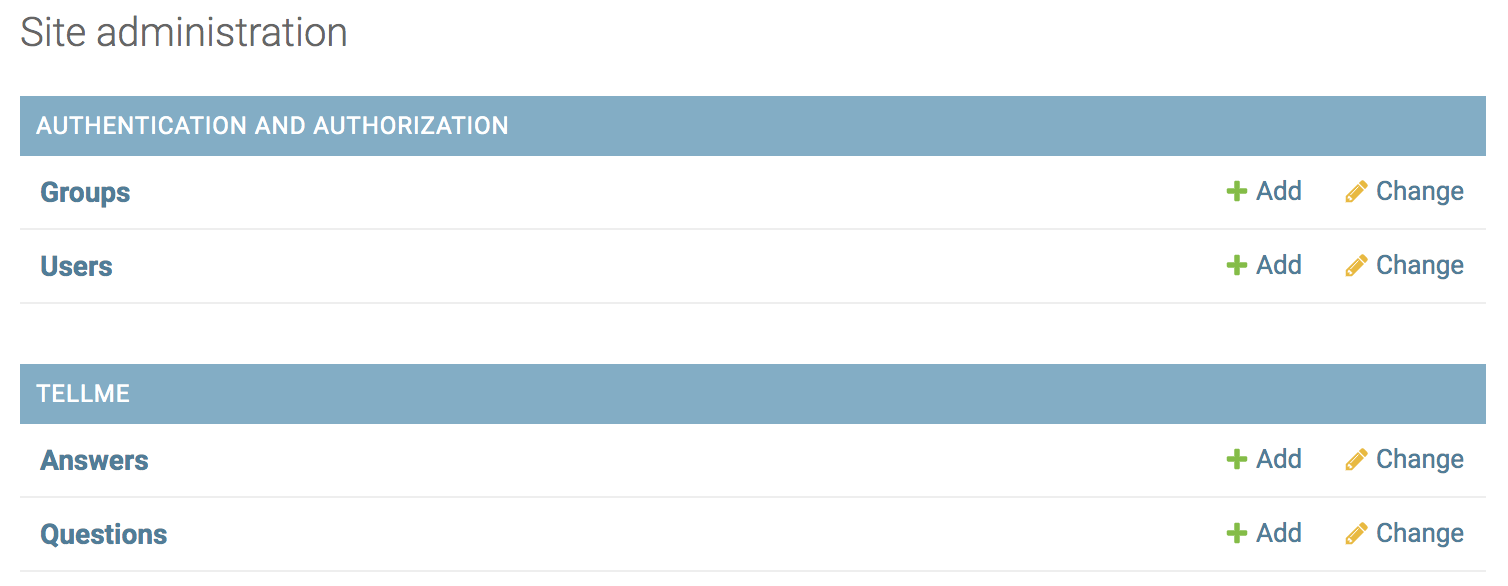
- Click on
Questionsand it shows the question we added. Then click onADD QUESTIONto add new questions. - Now come back to the admin page and navigate to
Answersto add new answers. When you add a new answer, you should link it to the question that you are answering.
4. URLs
Now it’s time to set up the URLs that shows some content.
- Go to
webapp/urls.pyand addtellme/path similar toadminpath.from django.contrib import admin from django.urls import path, include urlpatterns = [ path('admin/', admin.site.urls), path('tellme/', include(('tellme.urls', 'tellme'), namespace="tellme")), ] - Now create another
urls.pybut undertellme/directory. Here we define all the paths for the application. Theindexpath serves the home page which lists the questions. When you click on one of the questions, it shows the detail view of the question with associated answers. The other two paths are to add question and answers. The important thing is when our app receives a request on these paths, it goes to associated functions inviews.pyto create a response.from django.urls import path from . import views urlpatterns = [ path('', views.index, name="index"), #127.0.0.1:8080/tellme path('<int:question_id>/', views.detail, name="detail"), #127.0.0.1:8080/tellme/2 path('<int:question_id>/add_answer', views.add_answer, name="add_answer"), path('add_question', views.add_question, name="add_question"), ]
5. Views
We created paths, now we should add functions to views.py to create responses for each of the paths.
- Add a function called
indexwhich renders the home page. First, retrieve the latest 5 questions from the database and pass these as acontexttorenderfunction with theindex.html. For now, ignore the html pages.def index(request): latest_questions = Question.objects.order_by('q_date')[:5] context = {'latest_questions':latest_questions} return render(request, 'tellme/index.html', context) - Add a function called
detailwhich will show the detailed view of the questions with answers. This function receives ID of the question clicked on and creates a response with the question selected and its answers.def detail(request, question_id): question = get_object_or_404(Question, pk=question_id) context = {"question":question} return render(request, 'tellme/detail.html', context) - To be to add a new answer to a question, create a function called
add_answer. This function receives the question ID and parses the answer from the POST request and then adds this answers to the question’s answer set. Finally, it redirects to same page.def add_answer(request, question_id): question = get_object_or_404(Question, pk=question_id) try: text = request.POST['answer'] question.answer_set.create(a_text=text, a_date=timezone.now()) question.save() except: return render(request, 'tellme/detail.html', {'question': question, 'error_message': 'Please enter some text'}) return HttpResponseRedirect(reverse('tellme:detail', args=(question.id,))) - Last function is
add_questionwhich parses title and text of the quetion from the request and add it to the database. This function also redirects to the same page.def add_question(request): try: q_title = request.POST['q_title'] q_text = request.POST['q_text'] question = Question(q_title=q_title, q_text=q_text, q_date=timezone.now()) question.save() except: return render(request, 'tellme/index.html') return HttpResponseRedirect(reverse('tellme:index'))
6. Templates
A Django project can be configured with one or several template engines (or even zero if you don’t use templates). Django ships built-in backends for its own template system, creatively called the Django template language (DTL), and for the popular alternative Jinja2. We will use DTL.
- Under
tellme/directory, create a folder calledtemplatesand then create another folder calledtellmeinside the templates. The reason we use this structure is that becase there can be multiple applications under our webapp and each might have a template calledindex/html. We create a folder under templates for each application. - Create an html file called
base.htmlundertemplates/tellmeadd some default html tags. This base page has some DTL tags as well. DHL tags provide arbitrary logic in the rendering process like if statements or loops. Tags are surrounded by “{ %” and “% }”. It also includes some references to static files which will be mentioned shortly.{% load static %} <!DOCTYPE html> <html lang="en"> <head> <meta charset="UTF-8"> <title>Tell Me</title> <link rel="stylesheet" type="text/css" href="{% static 'tellme/style.css' %}" /> </head> <body> {% block main_content %} {% endblock %} </body> </html> - Now create an html file called
index.htmlwhich extendsbase.html. This page uses DTL tags lo iterate and print the latest questions thatindexfunction inviews.pysends. It also has a form which allows to submit a new question. When a new question is submitted via form, it send a request to theadd_questioninviews.py.{% extends 'tellme/base.html' %} {% block main_content %} {% if latest_questions %} <ul> {% for question in latest_questions %} <li><a href={% url "tellme:detail" question.id %}><b>{{question.q_title}}</b></a></li> {% endfor %} </ul> {% else %} <p>No questions yet. Please add a few.</p> {% endif %} <form action="{% url 'tellme:add_question' %}" method="post"> {% csrf_token %} <label for="q_title">Question Title</label> <input type="text" id="q_title" name="q_title" placeholder="Enter your title here..." required><br> <label for="q_text">Question Details</label> <textarea id="q_text" name="q_text" rows="1" cols="30" placeholder="Enter your question here..." required></textarea><br> <input type="submit" value="Add" /> </form> {% endblock %} - Create an html page called
detail.htmlwhich also extends thebase.html. This page prints the questions and the associated answers. It also includes a form which allows to submit a new answer. When an answewr submitted, it sends a request to theadd_answerfunction inviews.py.{% extends 'tellme/base.html' %} {% block main_content %} <h1>{{question.q_title}}</h1> <p>{{question.q_text}}</p> {% if error_message %} <p><strong>{{error_message}}</strong></p> {% endif %} <h4>Advices</h4> {% csrf_token %} {% for answer in question.answer_set.all %} <li><b>{{answer.a_text}}</b></li> {% endfor %} <form action="{% url 'tellme:add_answer' question.id %}" method="post"> {% csrf_token %} <textarea id="answer" name="answer" rows="2" cols="30" placeholder="Enter your answer here..."></textarea> <input type="submit" value="Add" /> </form> {% endblock %}
7. Static Files
Until now, we created a few funtionalities for the application. Now we can add some style.
- Create a folder called
staticundertellmedirectory. Inside thestaticfolder, create another folder calledtellme. This is useful again if you have multiple apps. - Create a css file called
style.cssand add some styles for the list tag. You can of course add more styles.li a { font-size: 20px; } - Now check your localhost at http://127.0.0.1:8000/tellme. You should be able to view and add questions and answers.
That’s it. I hope this is useful for some of you.